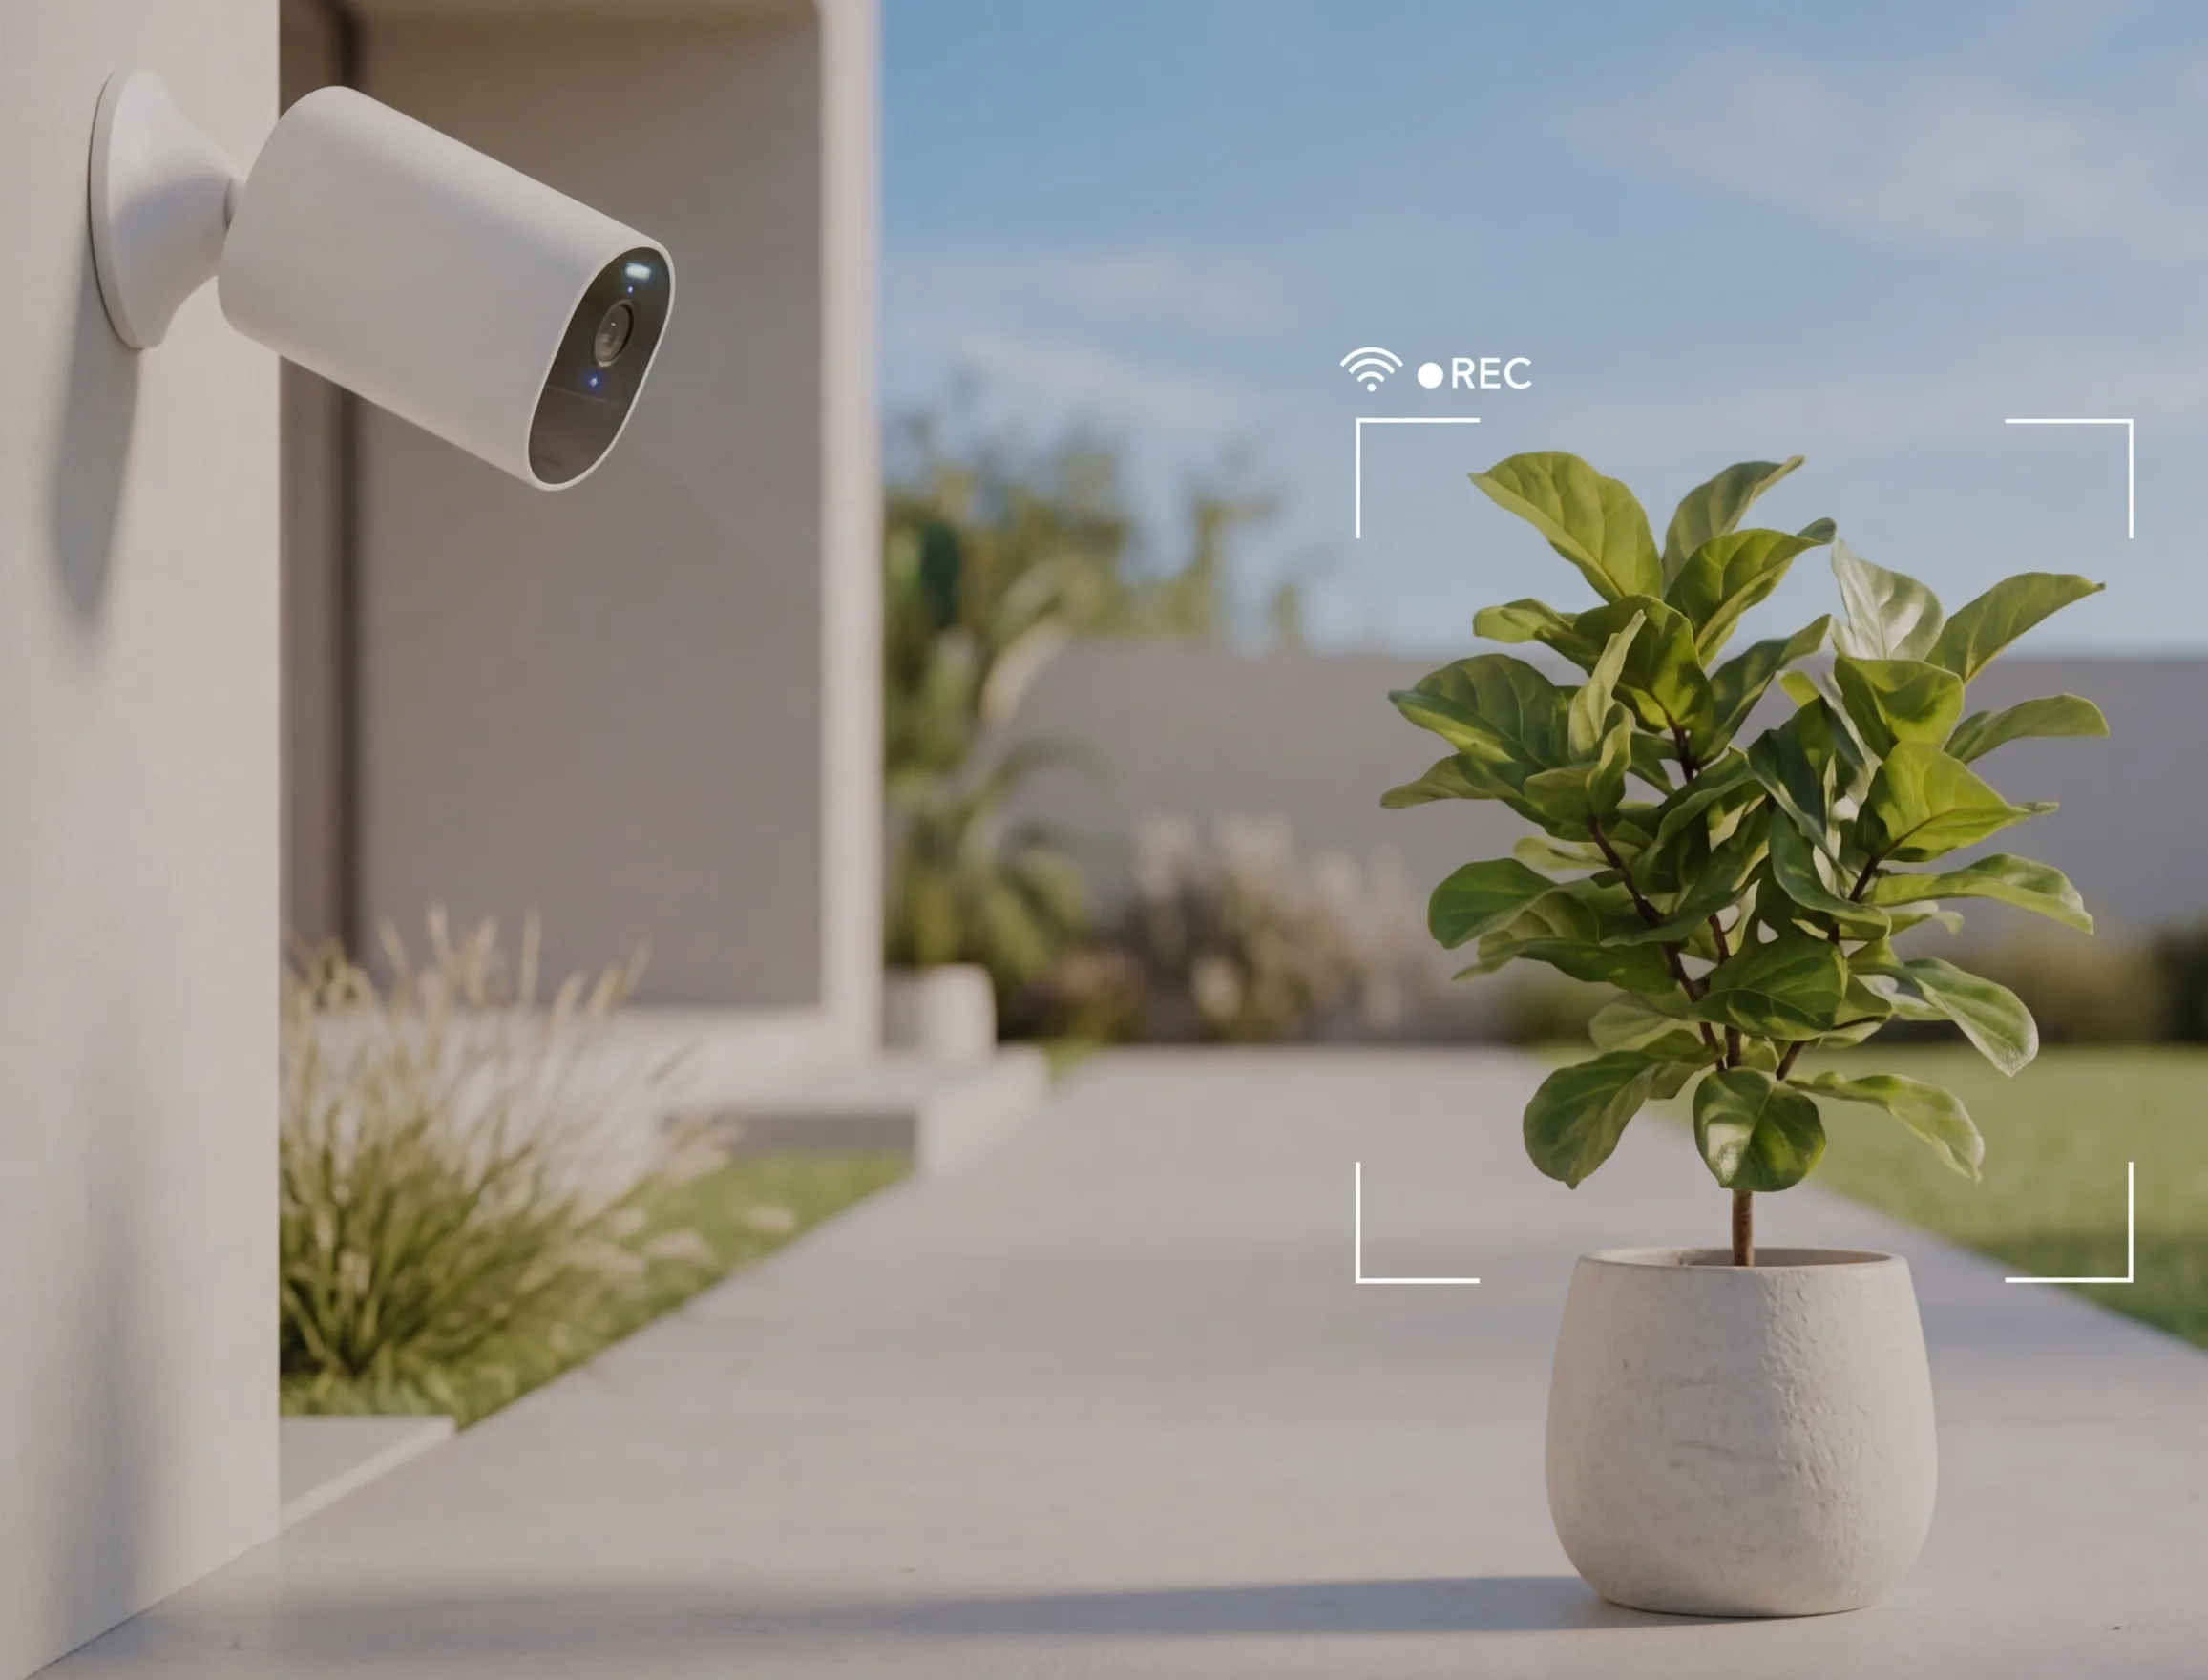
You already have a camera watching your yard. Right now it's watching for delivery people, wildlife, and the occasional squirrel raid on your bird feeder. But that same camera is quietly recording something else, too: your garden.
Every day, your plants grow, shift, wilt, or thrive. Most of that change is invisible to you because you see your yard every day. The human eye is terrible at noticing gradual shifts. But a camera taking a photo at the same time each day will show you everything: a plant that started leaning last month, a bed that gets 40% less sun than you thought, a hydrangea slowly turning yellow before it dies.
Greenlapse turns that camera into a full-time garden observer. Here's how to set it up.
What you'll need
- A Ring camera pointed at some part of your yard (doorbells, floodlights, and stick-up cams all work). The camera you want to connect needs an active Ring Protect subscription.
- About 5 minutes for setup
- Greenlapse on your phone or in a browser. Grab the iPhone app for the best experience, or use the web app on Android or desktop.
Step 1: Sign up through the Ring Appstore
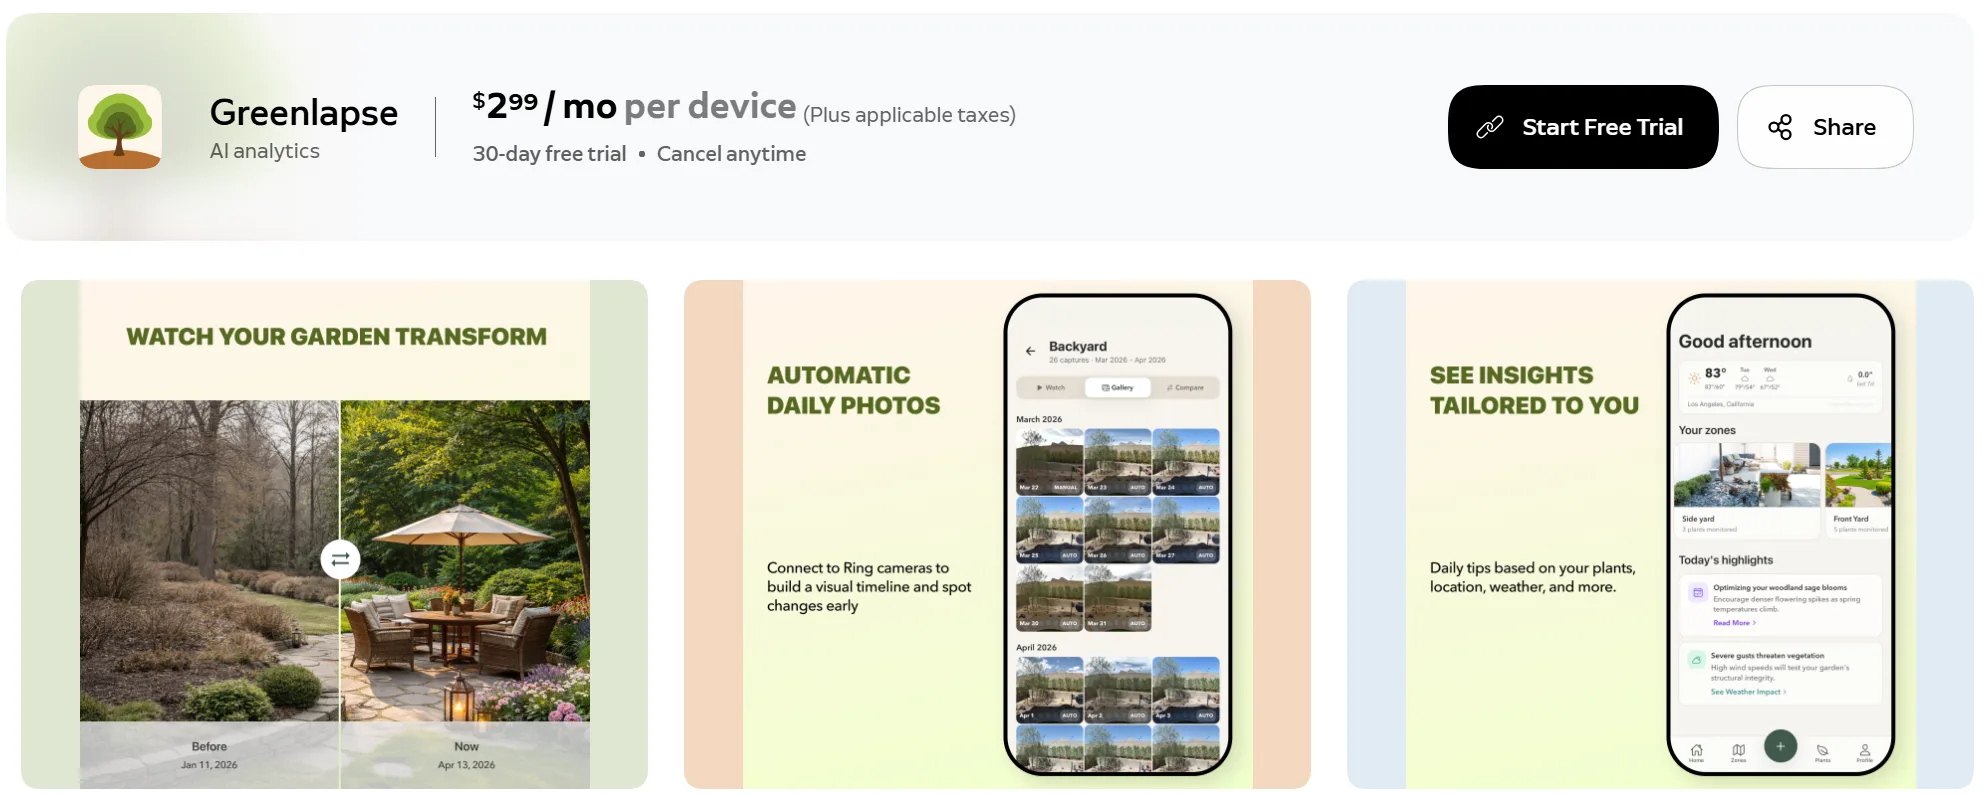
Head to Greenlapse in the Ring Appstore and start your 30-day free trial. During the trial you can connect as many cameras as you want to see if it's worth it for you.
The Ring Appstore handles the whole camera-connection flow, so there's nothing tricky to configure. When you're done, you'll be redirected to Greenlapse's web app to finish setting up your account. If you're on iPhone, you can open the Greenlapse app and log in there instead.
Sign in with Google, Apple, or email and password.
Step 2: Set up a zone
Open Greenlapse and tap “New zone.” Greenlapse walks you through the setup end to end.
Pick the Ring camera you want to use, and Greenlapse pulls a live photo from it. From there, Greenlapse identifies the plants in view, gets the zone ready to track, and shows you a success screen when everything is set. That's it. You're done setting up.
You can create multiple zones if you have additional Ring cameras, or set up manually tracked zones with your phone's camera. Each zone gets its own timeline, growth tracking, and insights.
Step 3: Let Greenlapse take over
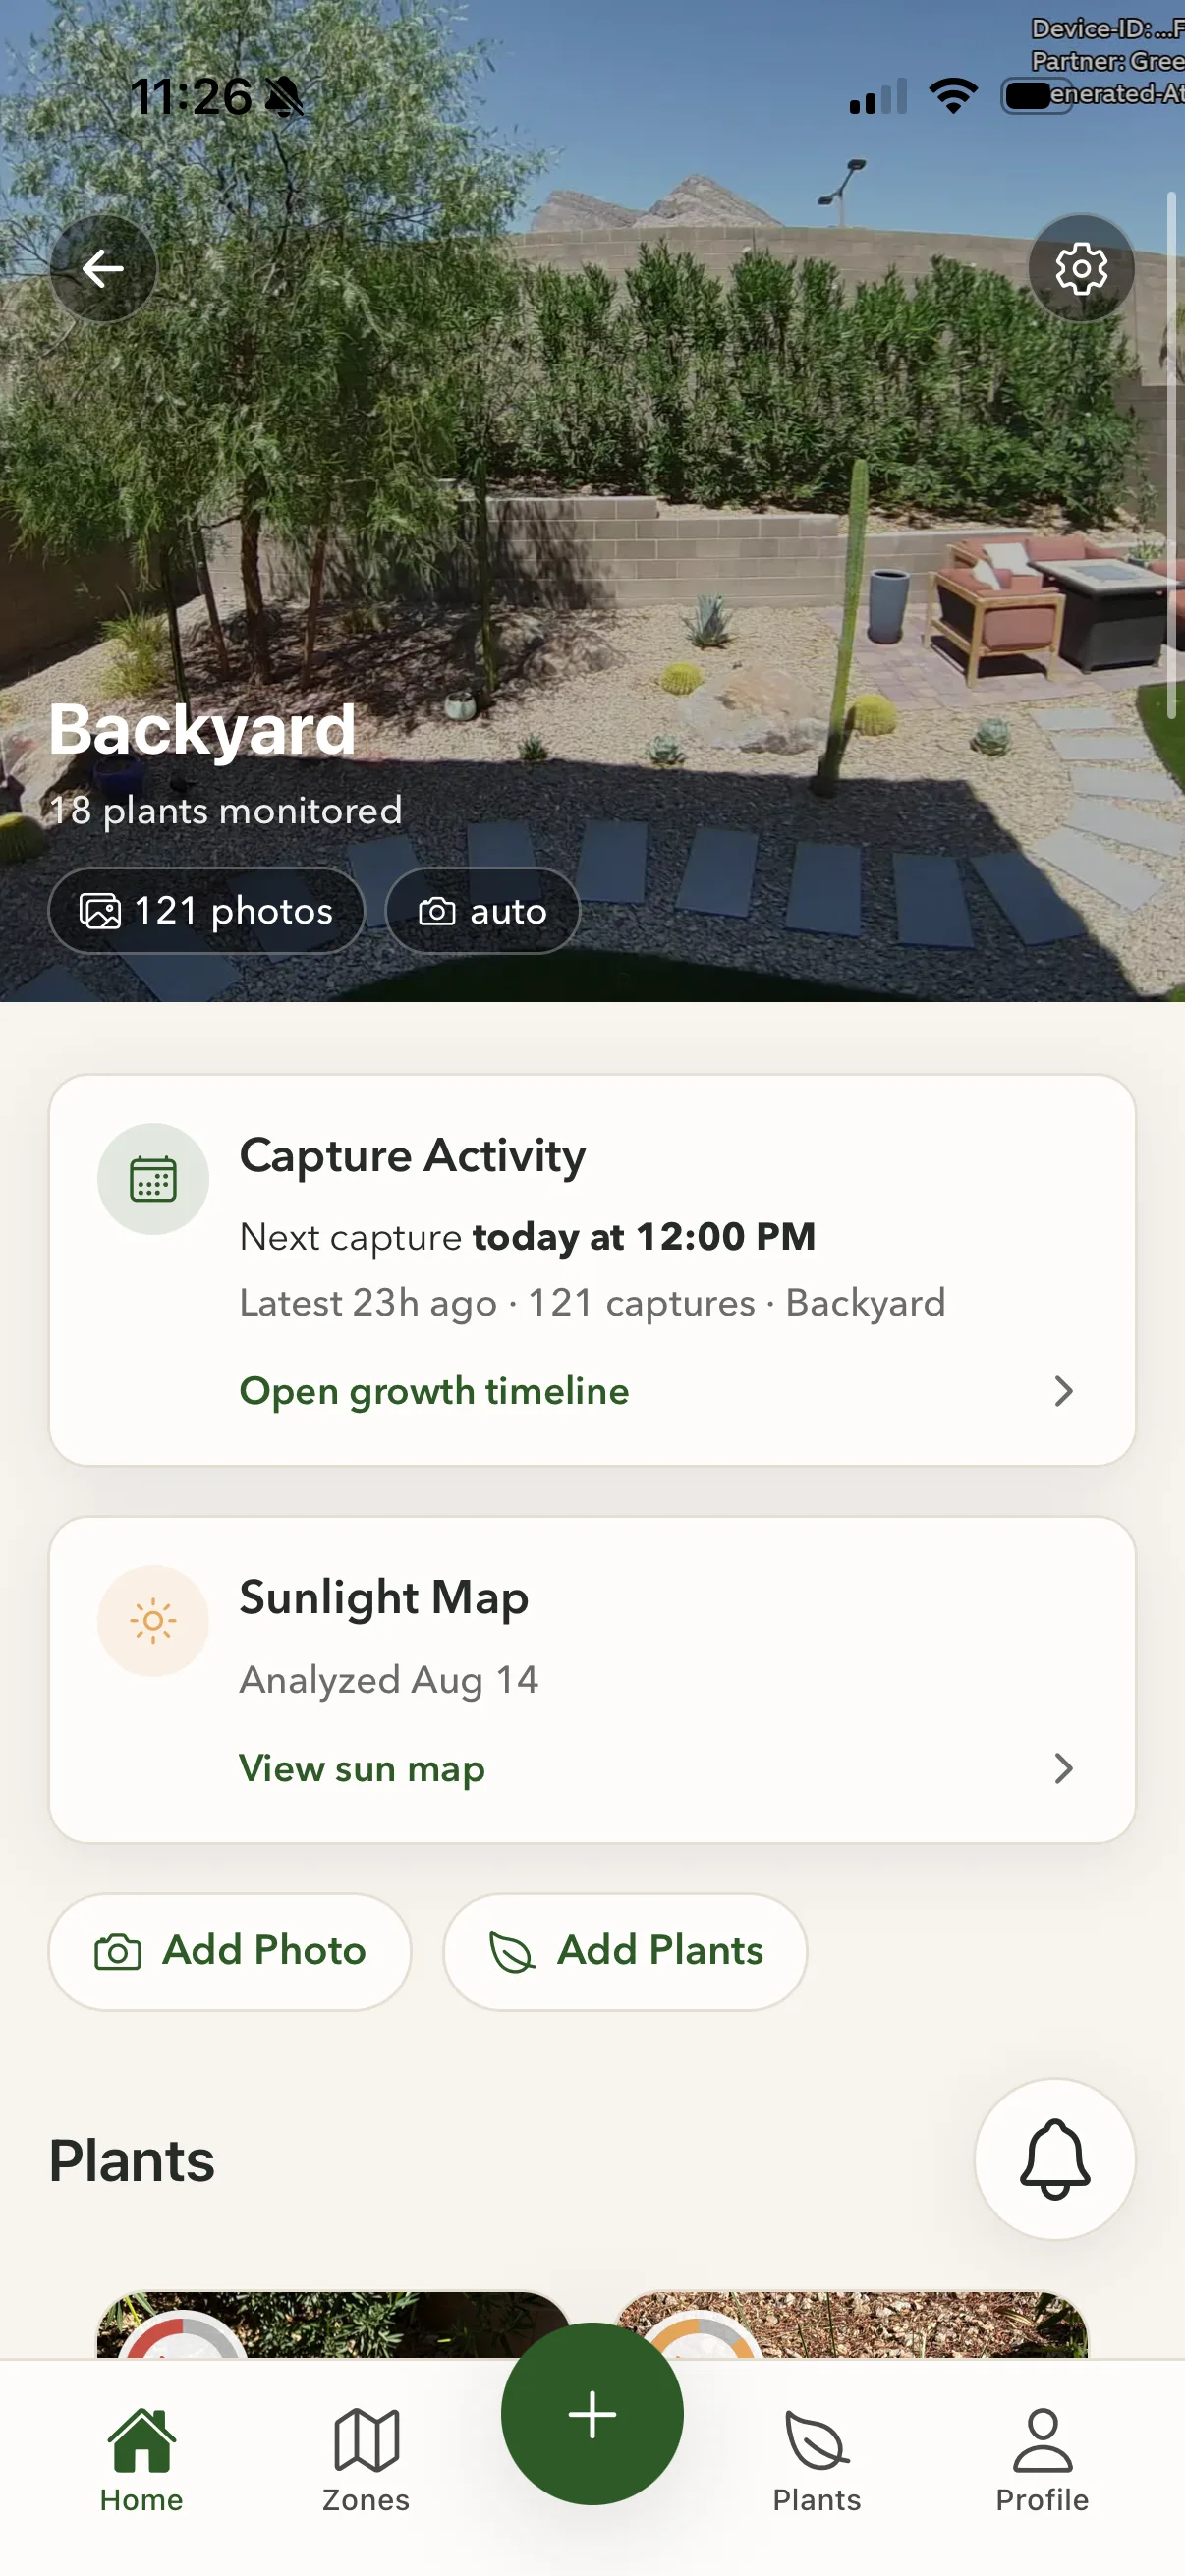
The next day, right around noon local time, your first daily capture will appear in the app. From then on, it happens automatically. One photo per zone per day at the same time, no work required from you.
Behind the scenes:
- Growth, size changes, and visible health issues get tracked over time so you notice problems early.
- Greenlapse triggers a sunlight analysis for your zone and delivers it when it's ready. Cloudy days don't count, so this can take longer if the weather isn't cooperating.
- Every daily photo joins your zone's timeline, so you can play back timelapses and see how your garden has changed over days, weeks, and seasons.
- Fresh daily insights are generated based on weather, the plants in your garden, and what needs your attention. Check back often.
Where should you point the camera?
We know most Ring cameras are already earning their keep watching the front door, driveway, or a side gate, and Greenlapse works fine with whatever's in the frame. But if you have an extra camera lying around or you're happy to reposition one specifically for garden tracking, a few things help.
Wider is better than closer
A single camera that sees your whole flower bed captures more usable data than a tight shot of one plant. Greenlapse works best when it can see the entire area at once. If the resolution isn't quite good enough for the individual plants you care most about, you can always add close-up photos manually as needed.
Avoid pointing directly at the sun
Cameras pointed east or west will blow out at sunrise and sunset. North-facing (in the northern hemisphere) or south-facing gives you the most consistent light throughout the day.
Mount high
A camera 8–12 feet off the ground gives you a natural top-down view of the beds, which is much easier to track than a low, oblique angle.
Tip: once the camera is placed, don't move it. Battery-operated cameras in particular need to be tightly screwed down, so pulling the camera off for a battery swap doesn't shift the frame. Even a small change in angle will show up as a jump in your timelapse.