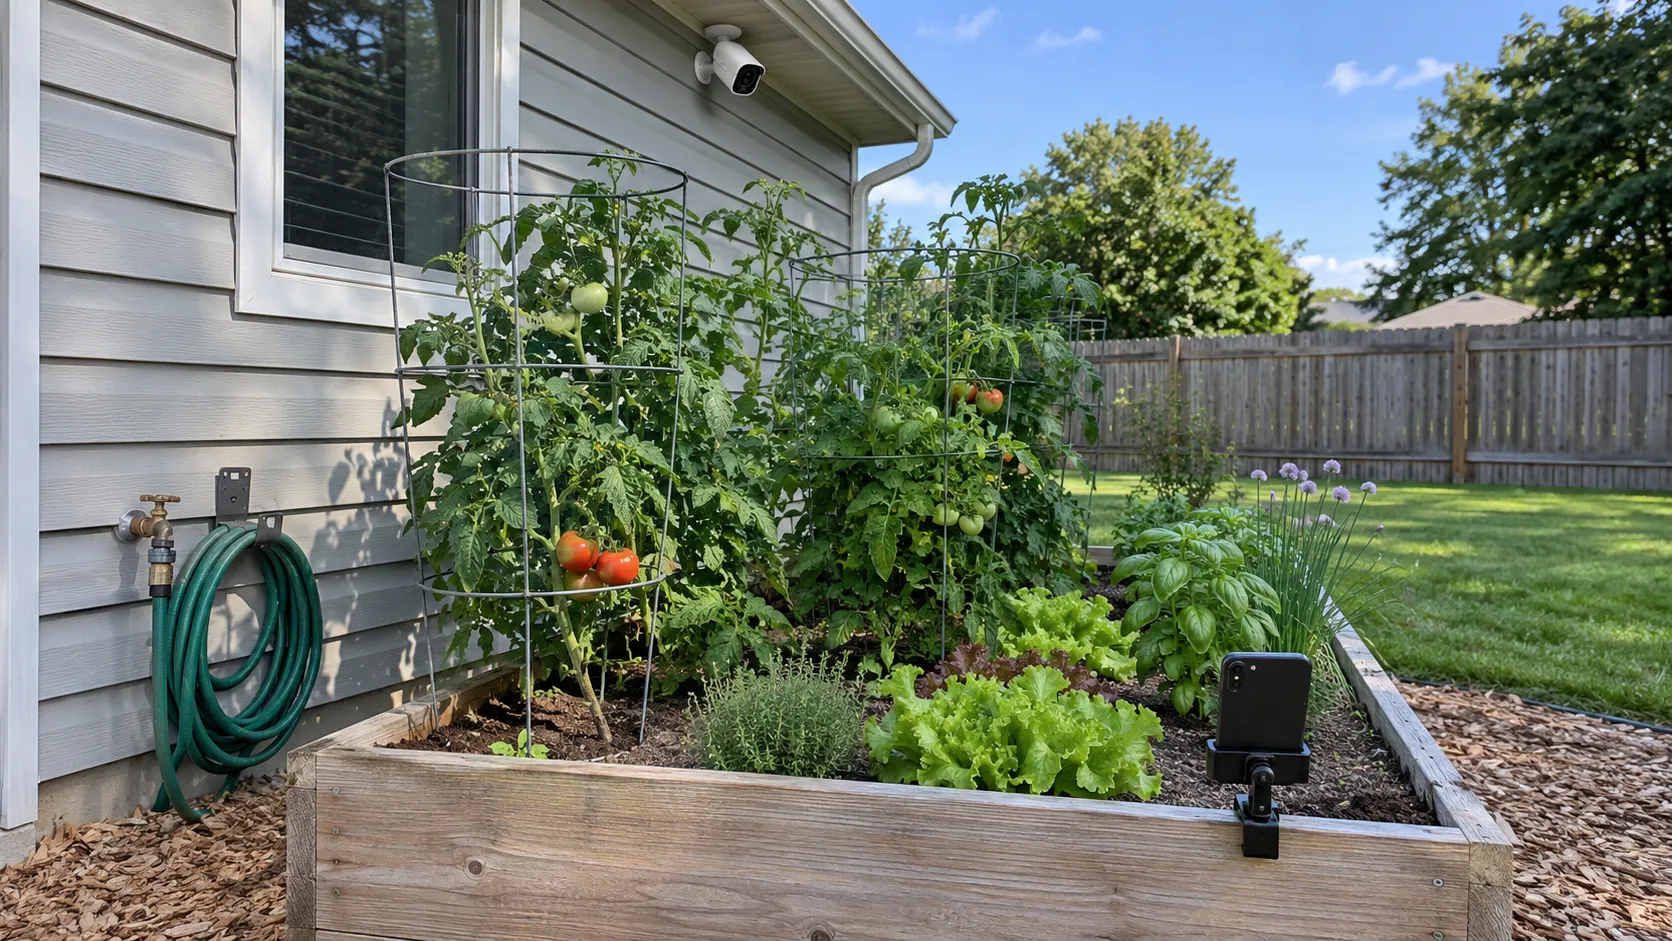
Almost any camera can take a good photo of a plant. Very few can take the same photo, from the same spot, in the same light, every day for three months. That's what a plant timelapse actually asks for, and it's why the right camera for sprouting seeds on a windowsill is the wrong one for a vegetable bed over a summer.
So start with the project, not the camera. How long will it run? Is it inside or outside? Is there power nearby?
Quick answer: which camera for which plant timelapse
| What you're filming | Best fit |
|---|---|
| Seeds sprouting or a houseplant, indoors, over days or weeks | An old phone or a webcam, plugged in |
| A flower opening, over hours or a couple of days | An action camera or DSLR |
| A garden bed over a whole season | An outdoor security camera, like a Ring camera with Greenlapse |
| Outdoors, somewhere with no power | A dedicated battery-powered timelapse camera |
Here's how each option holds up, and where each one falls short.
An old phone and a timelapse app
The cheapest way to start, since you probably have one in a drawer. Mount it on a clamp or a small tripod, plug it into a charger, and run an intervalometer app that takes a still every few minutes. The phone's built-in Time-Lapse mode is made for minutes or hours, not days, so for anything longer use an app that saves individual photos you can stitch later.
- Good for: seedlings, microgreens, and houseplants indoors, over a few days to a few weeks.
- Watch out for: auto-exposure and autofocus changing between frames (lock them if your app allows), and the phone getting moved when someone needs a charger.
A webcam or Raspberry Pi camera
The favorite for grow tents and seedling shelves. A USB webcam on a computer that's always on, or a Raspberry Pi with its camera module, can capture on a schedule for as long as you like and save straight to a folder. It takes a little setup: a scheduled script or a capture program, and somewhere to store the photos. Once it's running, it keeps going.
- Good for: long indoor projects, grow tents, and anyone happy to tinker.
- Watch out for: modest image quality from cheaper webcams, and the setup time. Outdoors, you'll also need a weatherproof enclosure and power.
An action camera or DSLR
If image quality matters most, this is the step up. Action cameras like a GoPro have interval photo modes built in, and many DSLR and mirrorless cameras have a built-in interval timer, or work with an external intervalometer. The results look the best of any option here.
- Good for: short, high-quality projects, like a flower opening or a time-lapse you plan to share.
- Watch out for: battery life. Most last hours, not weeks, so plan for external power. It's also a lot of expensive gear to leave tied up, or outside, for a long project.
A dedicated timelapse camera
Cameras built only for timelapses, from brands like Brinno and Wingscapes, run on batteries for weeks or months and are made to sit outside, either weatherproof or in a weatherproof housing. You set an interval, strap the camera to a post or a tree, and leave it.
- Good for: outdoor projects far from an outlet, like an allotment, a field, or the far end of a big yard.
- Watch out for: lower image quality than an action camera or DSLR, and the trip out to swap batteries and pull the memory card. You'll also stitch and clean up the photos yourself.
An outdoor security camera
For a garden you want to follow over a whole season, the camera already on your house is hard to beat. It's mounted, powered, weatherproof, and it isn't going anywhere, which solves the three problems that end most long timelapses.
The catch is that security cameras are built to record motion, not to take a still of your garden on a schedule. Ring's Snapshot Capture, included with some Ring plans, takes periodic stills you can scrub through in the Ring app, but there's no way to export them as a timelapse of your garden.
That's the gap Greenlapse fills. Connect any Ring camera that can see your garden, and Greenlapse saves a photo of it every day around noon and builds the timelapse for you.
- Good for: garden beds, lawns, and whole yards over months or years, with no ongoing effort.
- Watch out for: one photo a day suits a season of growth, not a flower opening over an afternoon. The view is wherever the camera is already pointed, so check our Ring camera placement guide if you're free to move one.
Which one should you get?
If you're filming something indoors for a few weeks, use the phone you already have. If the result needs to look great and the project is short, use an action camera or DSLR. If you want to watch a garden change over a season, the camera that's already mounted outside is the one most likely to make it to the end.
Whatever you choose, the camera is only half of it. Our guide on how to make a plant timelapse covers the rest: locking the angle, picking an interval, keeping the light steady, and stitching the photos into a video.
The hands-off option: Greenlapse with a Ring camera
Greenlapse is a garden tracker for Ring cameras. Once it's connected, it takes care of the parts of a long timelapse that usually fall apart:
- A photo every day, around noon, so the light is as consistent as the weather allows.
- Automatic timelapses. Your first one is generated after about 20 captures, and you can make new ones for any date range, removing bad frames along the way.
- More than a video. Greenlapse also identifies the plants in view, tracks their growth and visible health over time, and maps how much sun each part of the yard gets.
No Ring camera? Greenlapse can also guide you to take manual photos from the same spot on a reminder schedule. See how to set it up with a Ring camera.